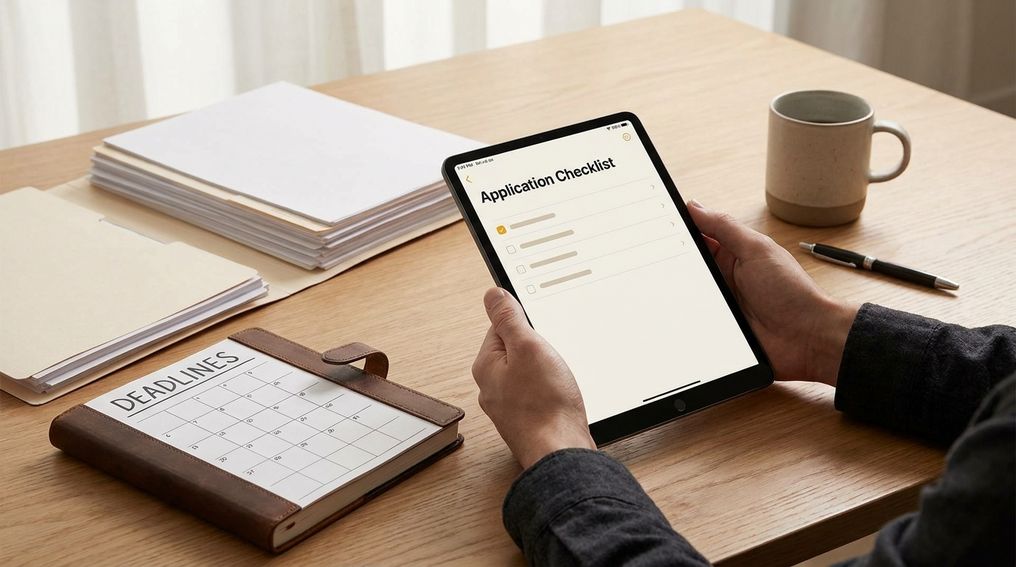
Application eligibility requirements tell you whether you should apply, when you need to act, and what materials you need before you start. If you check those three areas early, you reduce the risk of spending time on an application you can’t submit or missing a required item near the deadline.
This guide helps you read an application page with a practical eye. You’ll learn how to confirm eligibility, track dates, prepare requested materials, and avoid common mistakes that lead to delays or disqualification. Use it as a pre-application checklist before you open the form.
What You Should Know Before You Start
Before you begin an application, read the full application page from top to bottom. Don’t jump straight to the form. Many applicants miss requirements because the details are split across eligibility notes, dates, document instructions, and frequently asked questions.
Your first job is to confirm whether the opportunity fits your situation. Look for eligibility rules tied to location, age, organization type, career stage, income level, education, project status, or previous participation. If any rule uses unclear wording, write down the exact phrase and contact the application support team before you invest more time.
You should also check whether the application has categories, tracks, or pathways. Some programs use one application page but apply different rules to different applicant types. That means one person may qualify under one category and not qualify under another.
Who Is Eligible To Apply
Eligibility is the first filter. If you don’t meet the stated criteria, a strong application usually won’t fix the problem. Read the rules literally, then compare them with your current situation rather than what you expect your situation to be later.
Start with the basic requirements. These often include applicant type, location, stage of work, background, organization status, or project fit. If the page says the opportunity is for individuals, don’t assume teams qualify. If it says organizations must meet a stated stage requirement, don’t assume an early idea or late-stage project will be accepted.
Pay attention to words that create limits. Phrases tied to “current,” “active,” “registered,” “resident,” “full-time,” “early-stage,” or “previously funded” can change whether you qualify. If your case sits near the edge of a rule, ask for clarification before submitting.
Key Dates And Deadlines
Application dates control your planning. You need to know when the application opens, when it closes, when decisions may be shared, and when any program activity or next step begins. Add these dates to your calendar as soon as you confirm them.
Don’t treat the final deadline as your working deadline. Set your own target at least a few days earlier so you have time to fix file issues, missing answers, unclear uploads, or portal problems. If the form requires references, letters, approvals, or signatures, give those people enough time to respond.
Also check the time zone attached to the deadline. A deadline that closes at the end of the day in one location may close earlier than expected for applicants elsewhere. If no time zone is listed, ask the organizer instead of guessing.
What We Ask For: Required Materials
The application usually asks for a mix of personal details, eligibility information, written responses, supporting documents, and confirmations. Treat the materials list as a checklist, not a loose guide. Missing one required item can slow down review or stop your application from moving forward.
Common materials include contact details, background information, project descriptions, work samples, financial details, organization information, resumes, statements, budgets, or letters of support. Some forms also ask you to confirm that your information is accurate and that you agree to the application terms. Save copies of your answers before you submit.
Check file requirements before you prepare uploads. The page may specify file type, size limit, naming rules, page count, or word count. If the instructions ask for a specific format, follow it exactly. Reviewers should spend time reading your content, not figuring out whether your file opens.
How To Prepare Your Application
Preparation starts with a simple document where you collect every question, requirement, date, and upload item. This keeps you from building the application inside the portal without a backup. It also makes it easier to review your answers for accuracy and consistency.
Write your responses in plain language. Answer the question asked, use specific details, and avoid padding. If the application asks what you plan to do, say what you plan to do. If it asks who will benefit, name the group or audience as clearly as the application allows.
Before submitting, compare every answer against the stated selection criteria or application goals. If the opportunity is designed for a specific type of applicant, project, or need, your answers should make the fit easy to understand. Don’t make reviewers search for the connection.
How To Review Application Eligibility Requirements
The best way to review application eligibility requirements is to turn them into yes-or-no checks. A long paragraph of rules can feel vague until you break it into separate conditions. Once separated, each rule becomes easier to confirm.
Create a short checklist with every requirement on its own line. Mark each item as eligible, not eligible, or unclear. “Unclear” items need follow-up before you submit. Don’t leave them unresolved and hope the reviewer interprets them in your favor.
Keep proof close to hand. If the form asks you to confirm residency, status, experience, registration, enrollment, or project stage, you may need supporting information. Having those details ready helps you answer accurately and quickly.
Common Eligibility And Application Mistakes
The most common mistake is assuming you qualify because the opportunity “sounds like” it fits. Eligibility is based on the written criteria, not general similarity. If the wording sets a boundary, use that boundary when deciding whether to apply.
Another mistake is waiting until the deadline day to gather materials. Applications often take longer than expected when uploads, references, signatures, or written responses are involved. A rushed application can lead to incomplete answers, mismatched files, or avoidable errors.
Applicants also lose time by ignoring instructions that feel minor. Word limits, file types, naming rules, and required fields exist for a reason. Following them shows that you can read directions and submit a complete package.
What To Do If You Are Not Sure You Qualify
If you’re unsure whether you qualify, don’t guess. Use the official contact option listed on the application page and ask a direct question. Include only the details needed to explain your situation.
A good eligibility question is short and specific. State the rule you’re asking about, explain your situation in one or two sentences, and ask whether that meets the requirement. Avoid sending a long background story unless the support team asks for more information.
Keep a copy of any response you receive. If the application later asks you to confirm eligibility, you’ll have a record of the guidance you followed. That record also helps you answer similar questions in future application cycles.
Quick Pre-Application Checklist
- Confirm eligibility
- Check open and close dates
- Prepare required materials
- Review every answer
- Submit before the deadline
Apply With Less Guesswork
A strong application starts before you write your first answer. Check the application eligibility requirements, mark the dates that affect your timeline, and gather every requested material before the portal pressure starts. If a rule is unclear, ask for clarification early instead of guessing. Your goal is simple: submit a complete, accurate application that matches the instructions. When you do that, you give reviewers the cleanest possible version of your request.